Address Geocoding
If you installed GeoMaps on a site with existing listings or if you didn't enable auto geocoding, it is required to geocode addresses (convert real addresses to latitude & longitude coordinates) before being able to display the maps on the site.
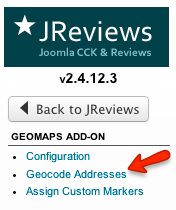
To do that, click the Geocode Addresses link in GeoMaps administration:
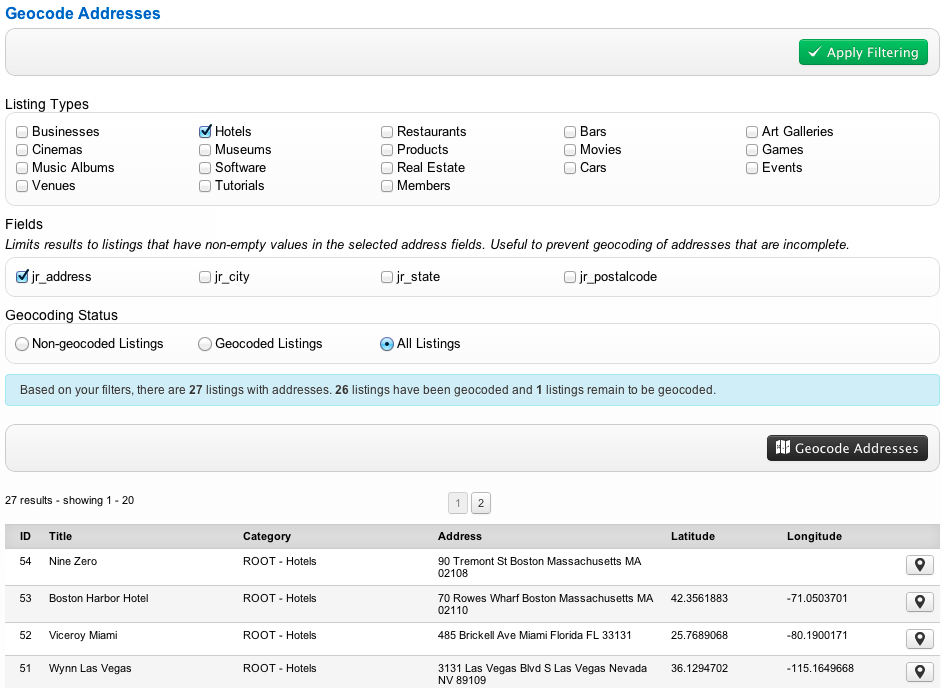
On this page you can geocode individual addresses or perform batch geocoding of existing addresses. Use the filters to select the listing types that require geocoding:
If you see listings without latitude and longitude values, those are the ones that need to be geocoded.
Geocoding individual addresses
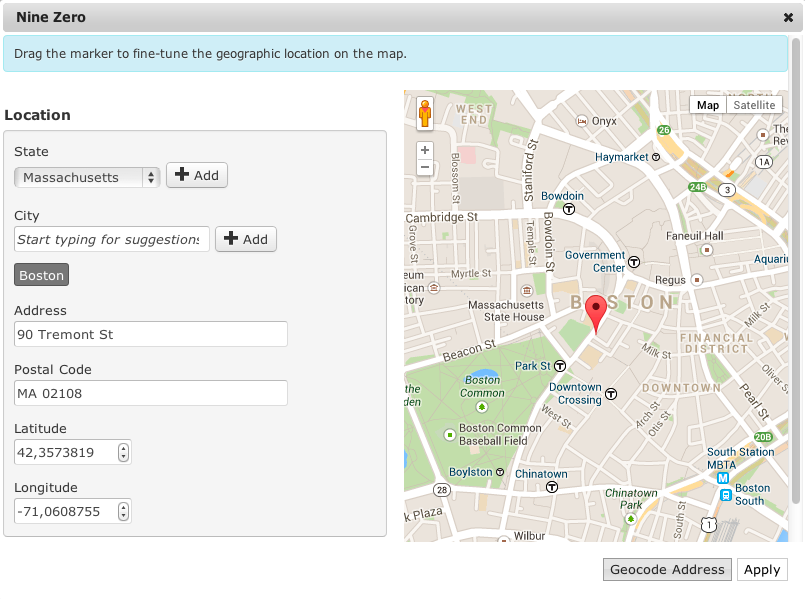
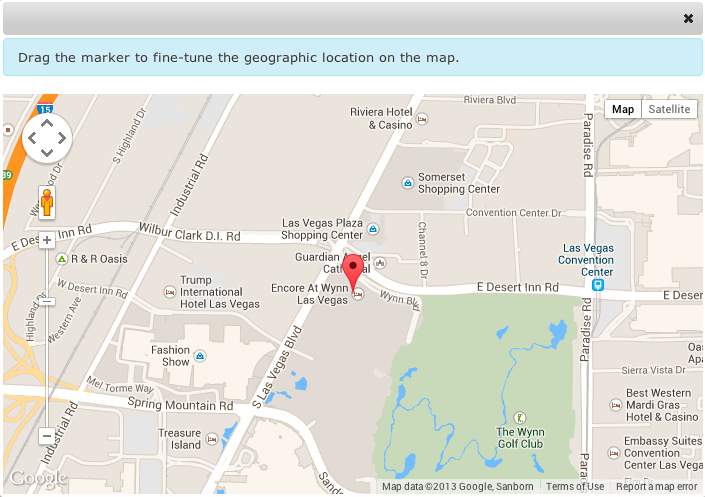
Clicking on the pin button located to the right of the address column opens a dialog allowing you to geocode individual addresses and adjust the location of the marker by dragging it. You need to click on the Apply Changes button once you are satisfied with the marker location so your changes are saved to the database:
Batch Geocoding
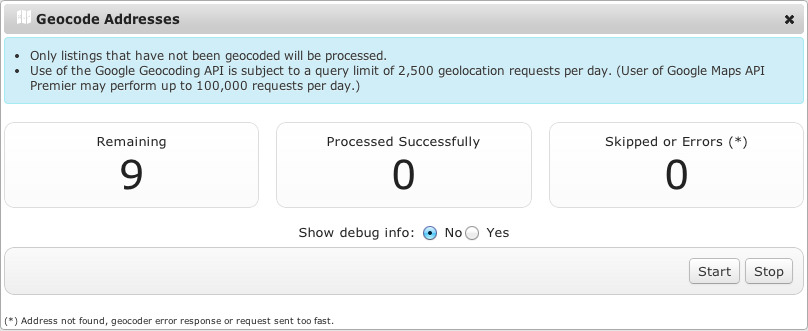
If many of your listings are missing latitude and longitude values, use the Geocode Addresses button to begin batch geocoding. A dialog box will appear where you can see the progress and stop the process. The Google API only allows 15,000 geocode transactions per day. After that the addon defaults to the tinygeocoder.com service.
Geocoding addresses in new listings
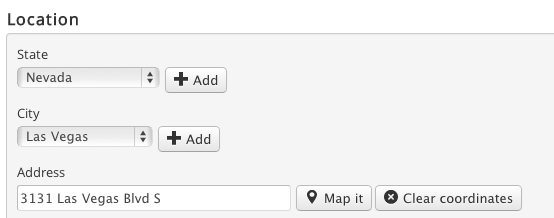
If you allow users to submit listings to your site or you submit them manually, the GeoMaps add-on has a Map It feature that allows users to geocode the address on the fly and adjust the marker’s location if necessary. The add-on adds a couple of buttons after the field that you designate as the "Map It" field in the configuration settings.
If you enabled auto-geocoding option in the GeoMaps configuration, it is not necessary to click the Map it button after entering the address, but you can use it to fine-tune the location:
If you want to change the address then you need to click on "Clear LatLng" to geocode the new address.
