Customizing the layout of custom fields on listing submit page
From JReviews Documentation
This article will show you how to display certain custom fields in the same row on the listing submit form.
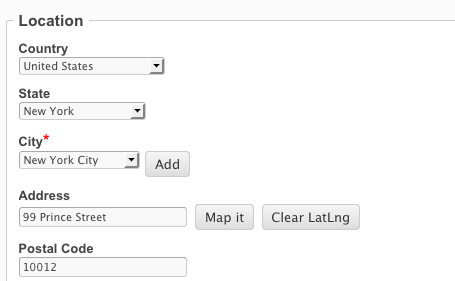
By default, custom fields are outputted one per row, like this:
Sometimes it is a good idea to display related custom fields in one row. We can do that using css because each field container has its name as class: "jrFieldDiv jrFieldname".
In this example we'll make jr_country, jr_state and jr_city fields to display in one row.
Add all styles to custom_styles.css file in your theme.
The first field in the row be floated like this:
.jrForm .jrFieldDiv.jrCountry {
    float: left;
}
For the second and third field we'll use this to output them in the same row as first field:
.jrForm .jrFieldDiv.jrState,
.jrForm .jrFieldDiv.jrCity {
    float: left;
    clear: none;
    margin-left: 30px;
}
And then we should make the 4th field to start from a new row:
.jrForm .jrFieldDiv.jrAddress {
    clear: left;
}
Now the fields are displayed like this:

