How to add Inquiry Form to listing detail pages
Contents
Adding the inquiry widget to detail pages
To add the Inquiry Form to listing detail pages you will need to modify the theme file of the listing detail page:
- \com_jreviews\jreviews\views\themes\{theme_name}\listings\detail.thtml
Add this code into the file whrere you want to display the Inquiry Form:
<?php echo $this->element('inquiry_widget');?>
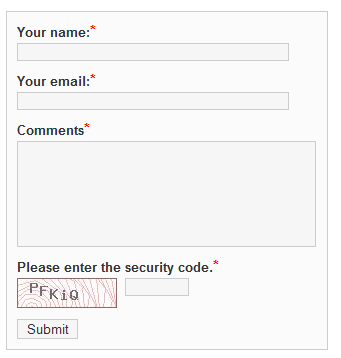
This is how the form will look like to guest visitors:
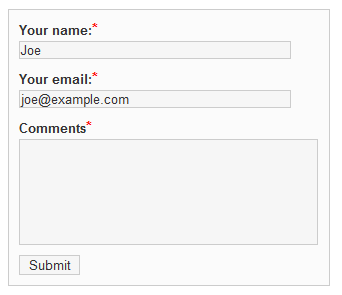
For registered users, Name and e-mail address will be pre-filled, and the captcha security image will be hidden:
Important: The Joomla email cloaking plugin must have a lower order number than the JReviews plugin, otherwise the registered user's email will appear scrambled.
If you want to modify the layout of the Inquiry Form, modify this theme file:
- \com_jreviews\jreviews\views\themes\default\elements\inquiry_widget.thtml
The setting that determines who receives the inquiry e-mail is available in JReviews Cofiguration - Listings tab
Guest listing submissions and inquiries
If you allow guests to submit listings without registering and you select the email to listing owner option, inquiries will not be sent out for listings submitted by guest users.
This is because guests are not listing owners and cannot even edit their own listing. Only registered users are considered listing owners.
If you wanted to allow inquiries for guests, then you could use a custom email field for this purpose.
How to add more input fields to the form
Open the theme file:
- \com_jreviews\jreviews\views\themes\default\elements\inquiry_widget.thtml
and replicate the code of one of the other fields.
For example, to add a Phone number field add this code:
<div class="jr_fieldDiv"> <label for="jr_inquiryPhone"><?php __t("Your phone number");?>:<span class="required">*</span> <span id="jr_inquiryPhoneValidation" class="jr_validation jr_hidden"><?php __t("Please fill in your phone number");?></span> </label> <?php echo $Form->text('data[Inquiry][phone]',array('id'=>'jr_inquiryPhone','class'=>'mediumField','size'=>50,'maxlength'=>100));?> </div>
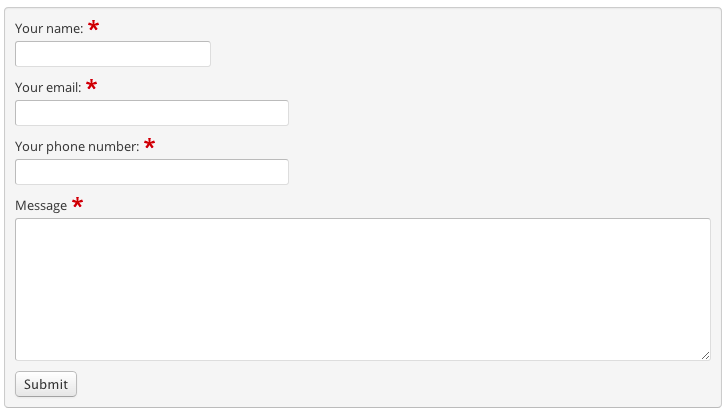
The form will now look like this:
You will need to modify the controller file for the new field to be included in the E-mail:
- \com_jreviews\jreviews\controllers\inquiry_controller.php
If your new field is required, add it into the Required fields array (line 44):
// Required fields
$fields = array('name','email','phone','text');
At the bottom of the controller file find the part of code that constructs the Body of the E-mail and add the Phone number:
$mail->Subject = sprintf(__t("New inquiry for: %s",true), $listing['Listing']['title']);
$mail->Body = sprintf(__t("From: %s",true),Sanitize::getString($this->data['Inquiry'],'name')) . "\r\n";
$mail->Body .= sprintf(__t("Email: %s",true),Sanitize::getString($this->data['Inquiry'],'email')) . "\r\n";
// add the line below
$mail->Body .= sprintf(__t("Phone number: %s",true),Sanitize::getString($this->data['Inquiry'],'phone')) . "\r\n";
$mail->Body .= sprintf(__t("Listing: %s",true),$listing_link) . "\r\n\r\n";
$mail->Body .= $this->data['Inquiry']['text'];


